
Furniture Flipping for Beginners: A Step-by-Step Guide to Start Your First Project
You’ve seen the stunning before-and-afters online and thought, “I could do that!” - guess what? You absolutely can. Furniture flipping is one of the most rewarding (and surprisingly profitable) creative hobbies. Whether you want to earn extra income or just breathe new life into old pieces, this beginner’s guide will walk you through every step of the flipping process. From sourcing smart to painting with confidence and pricing to sell, you’ll be ready to tackle your first flip with clarity and excitement.
Step 1: Finding the Right Piece
Look for solid wood, sturdy joints, and simple shapes. Avoid deep damage unless you’re up for a challenge. Great places to start:
- Facebook Marketplace - free is always the best to start with
- Thrift stores- it might take some time to find the perfect piece, but the looking part is so exciting
- Garage sales- it was the garage sales that hooked me up with furniture flipping
- Curbside finds- always check the condition of these before taking anything home
Step 2: Prepping the Furniture
I always follow one golden rule: your finish is only as good as your prep work!
There are no shortcuts and no random products. Clean your project thoroughly using a high-quality degreaser—I recommend ZEP.
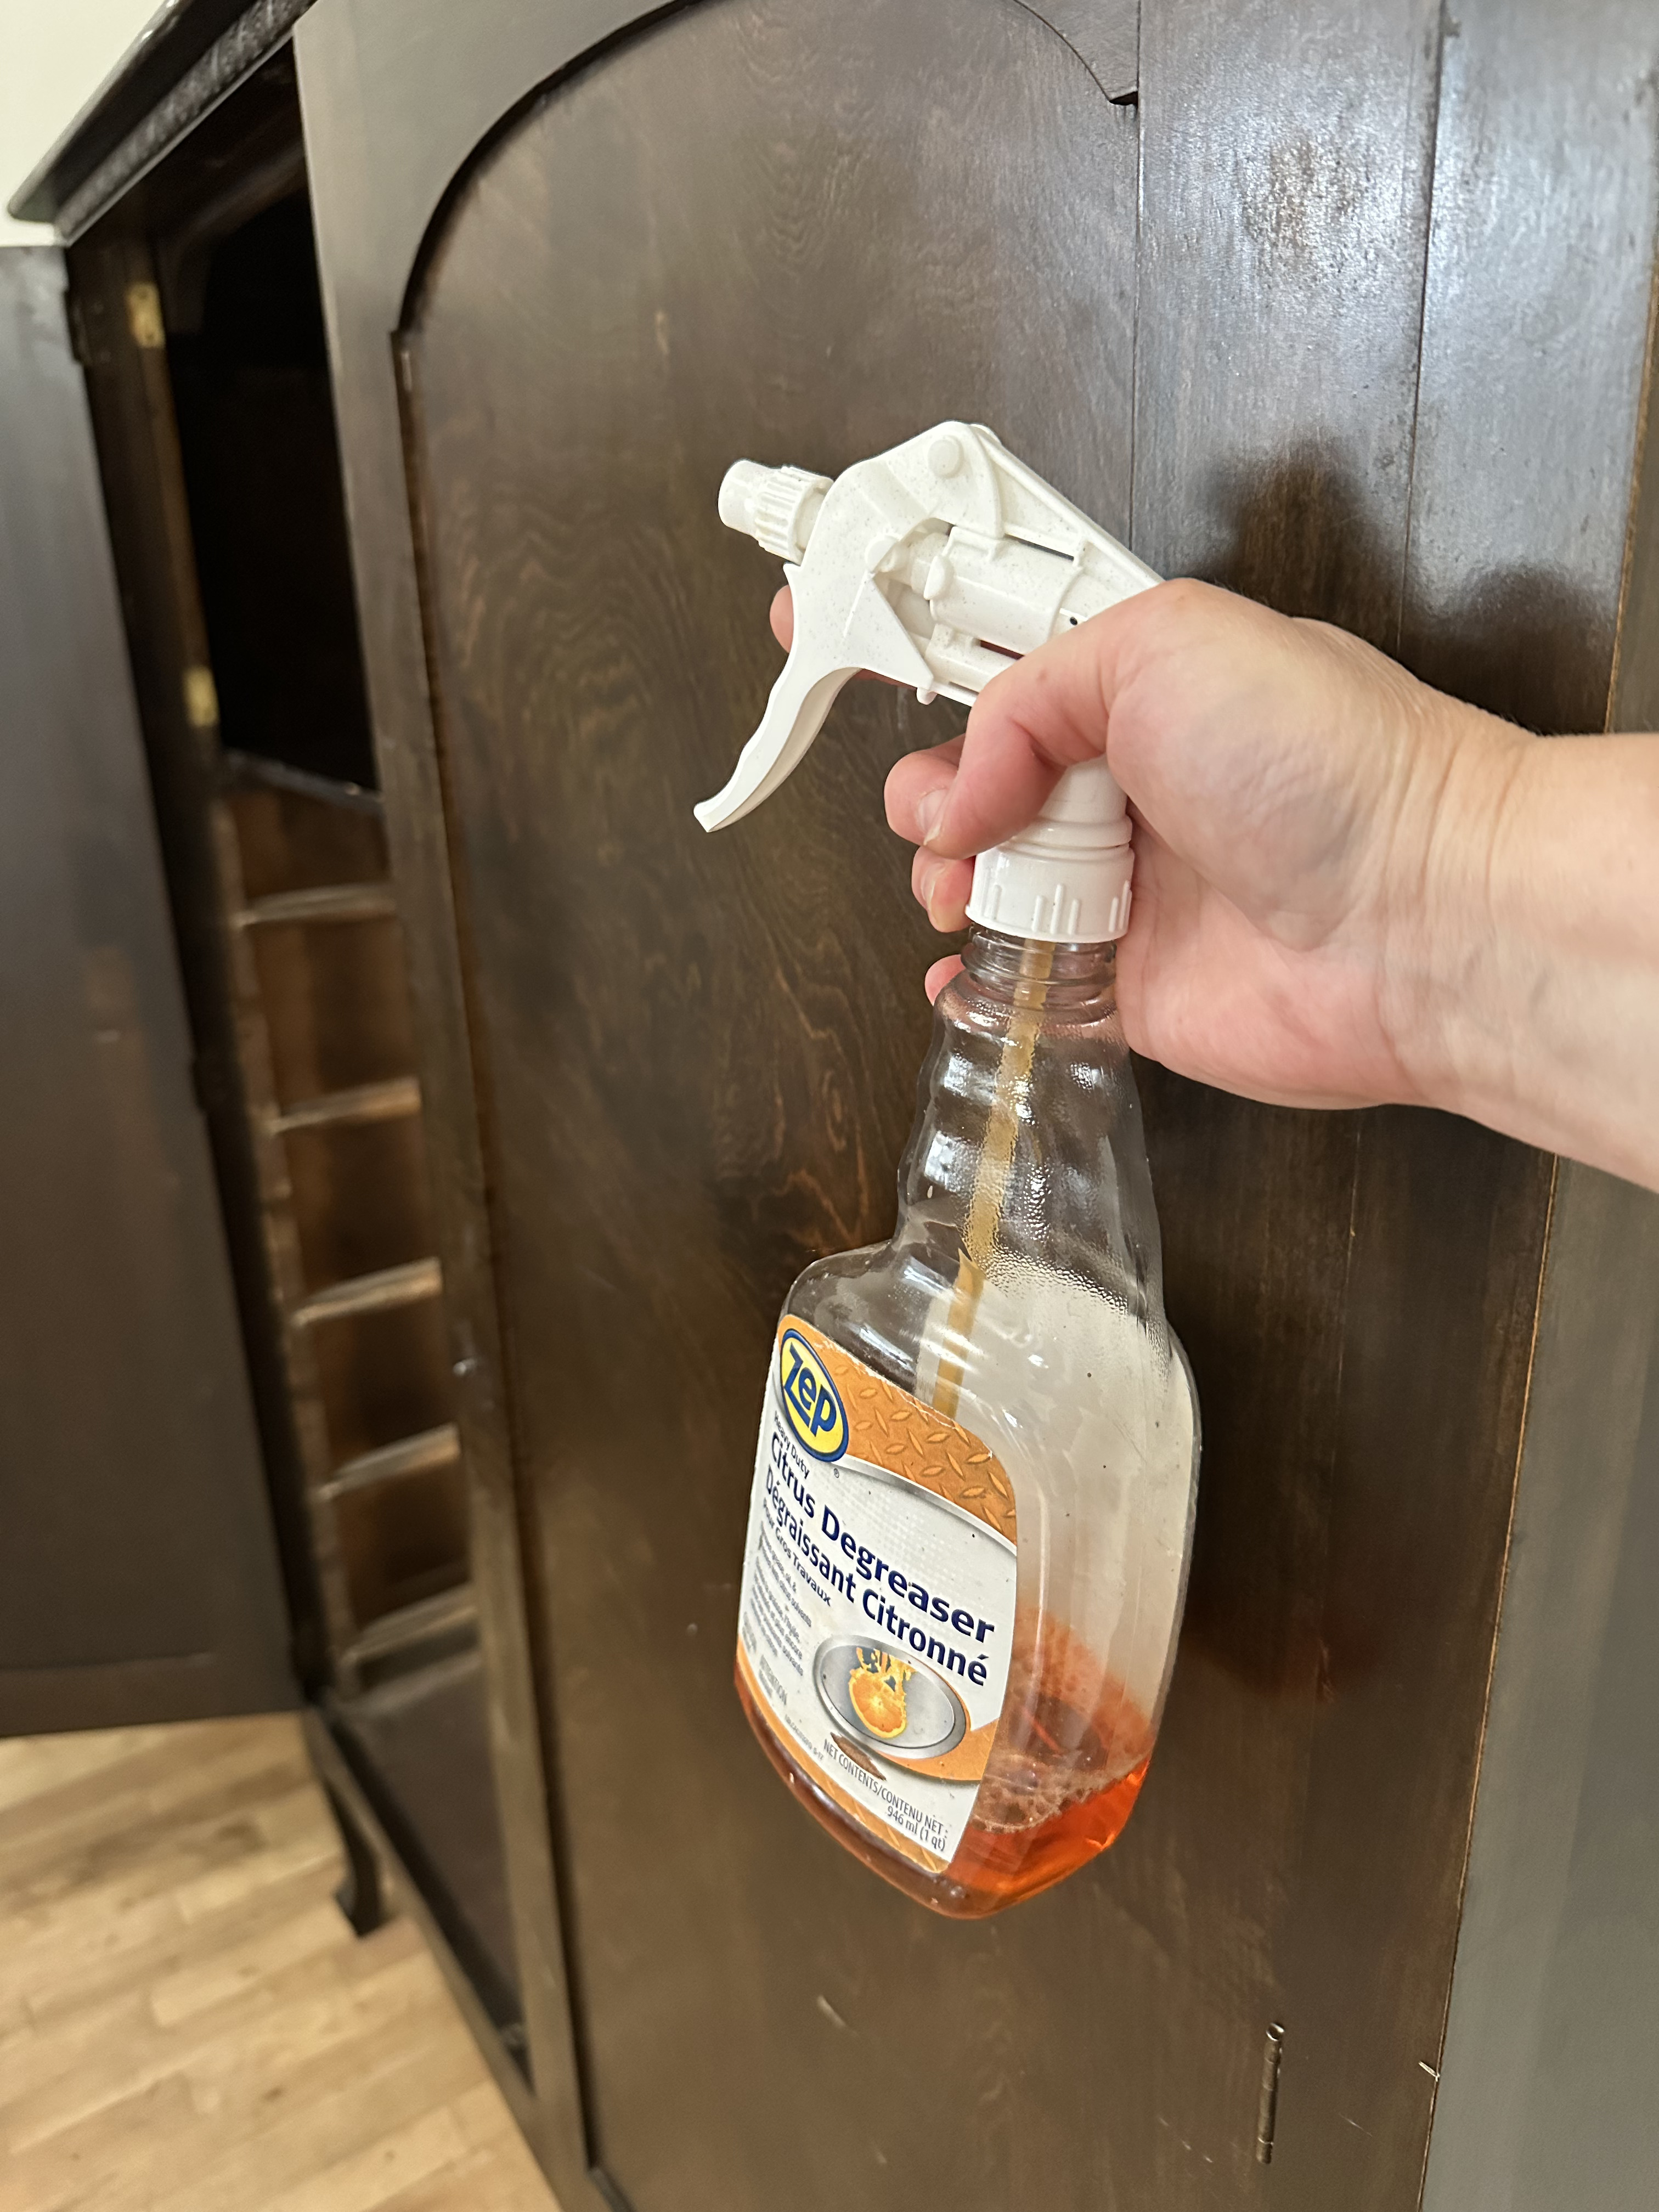
Remove old hardware and fill in dents or holes with wood filler and sand, if needed. Clean everything again to remove dust before applying paint or primer. Keep the old hardware to reuse it or use it on another project.
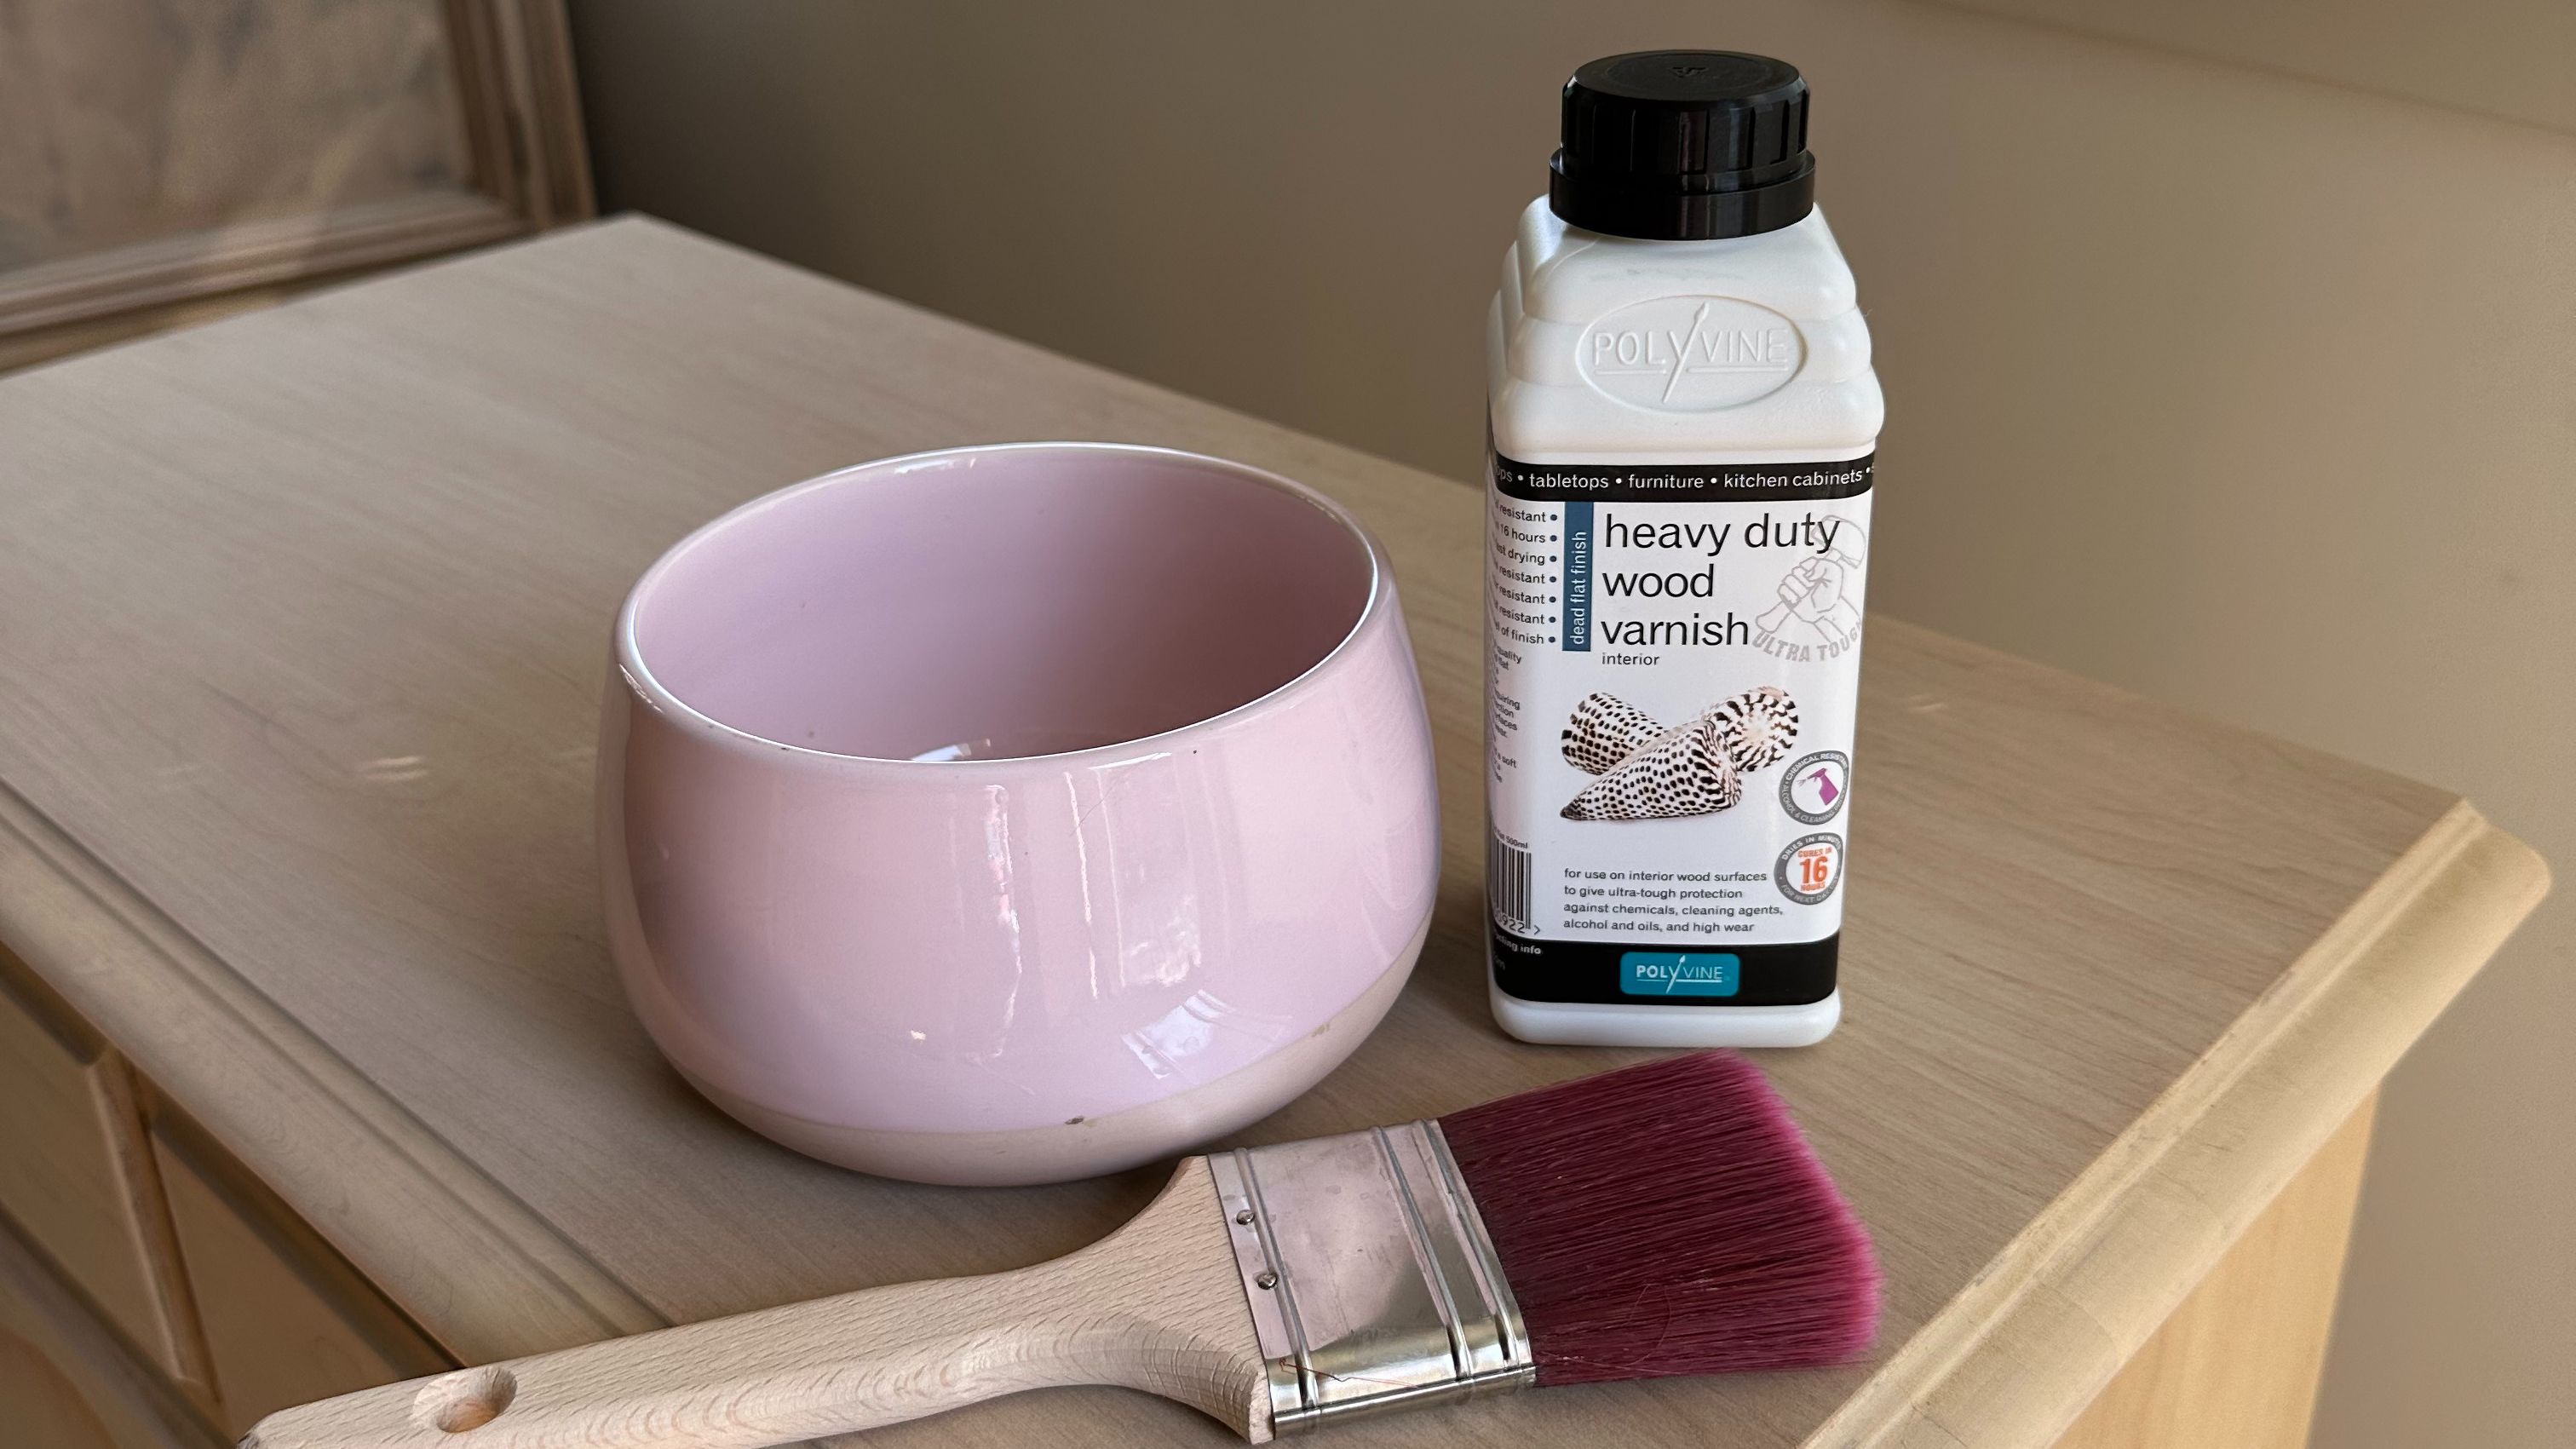
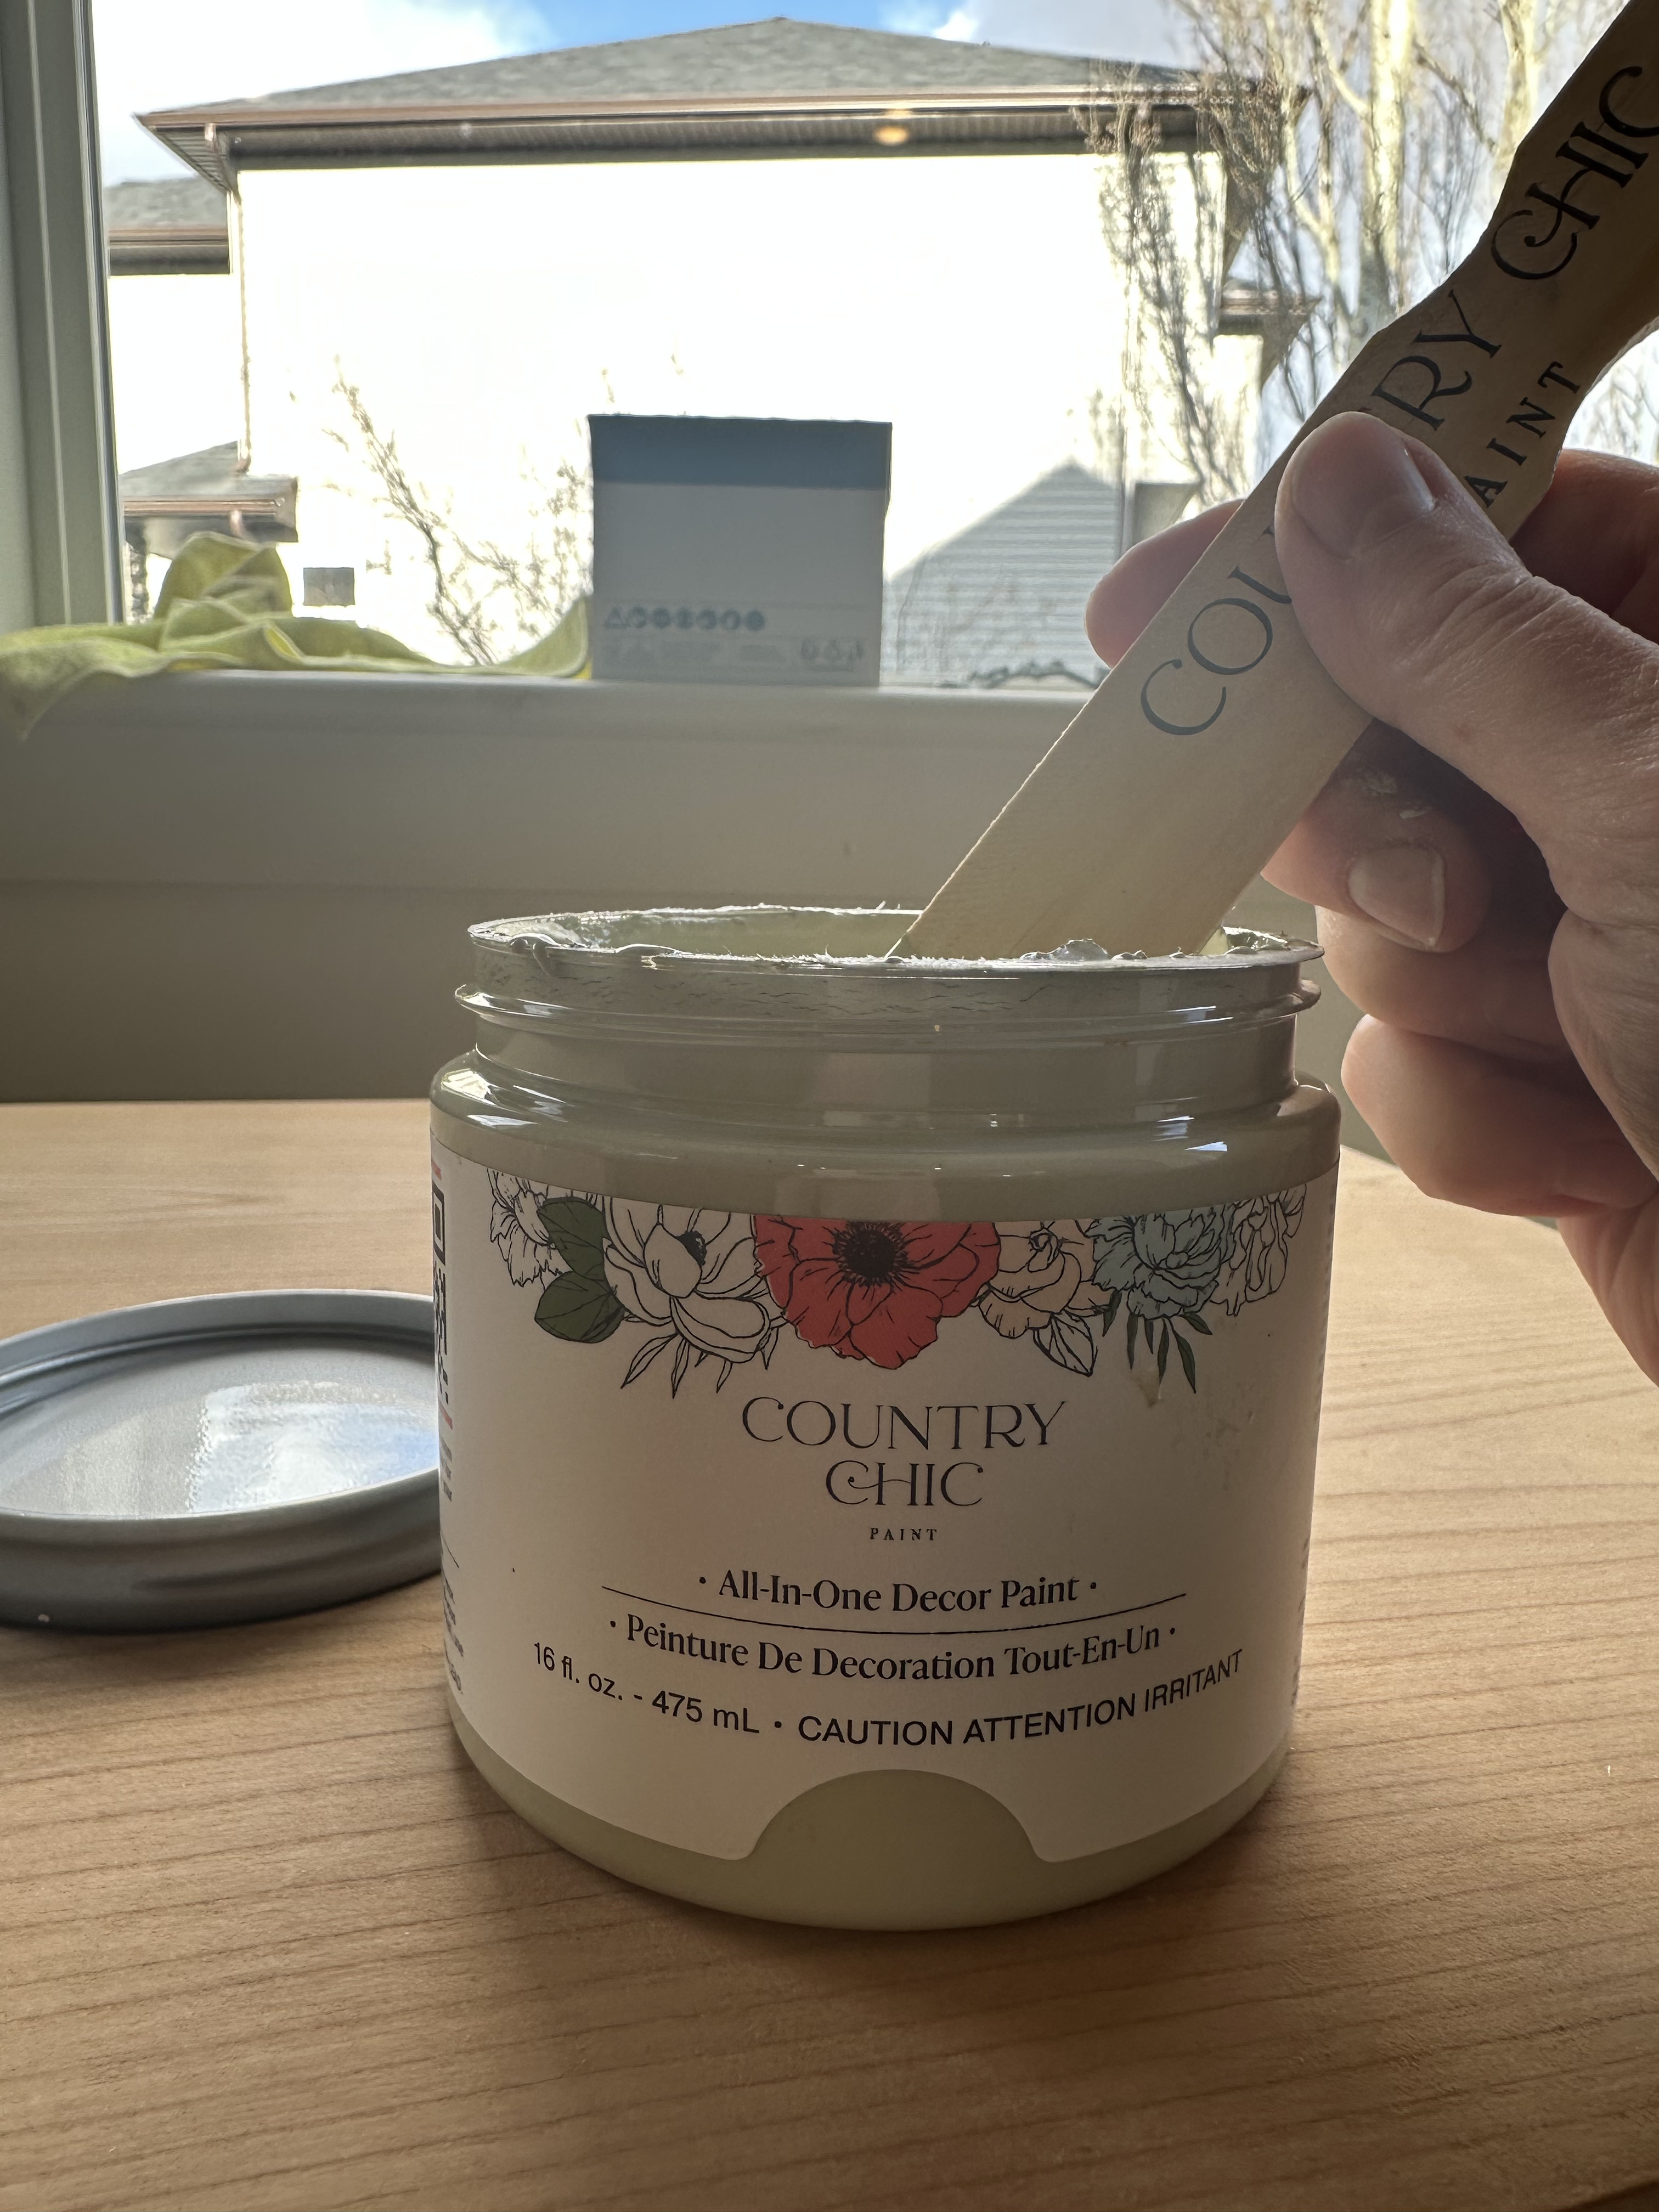
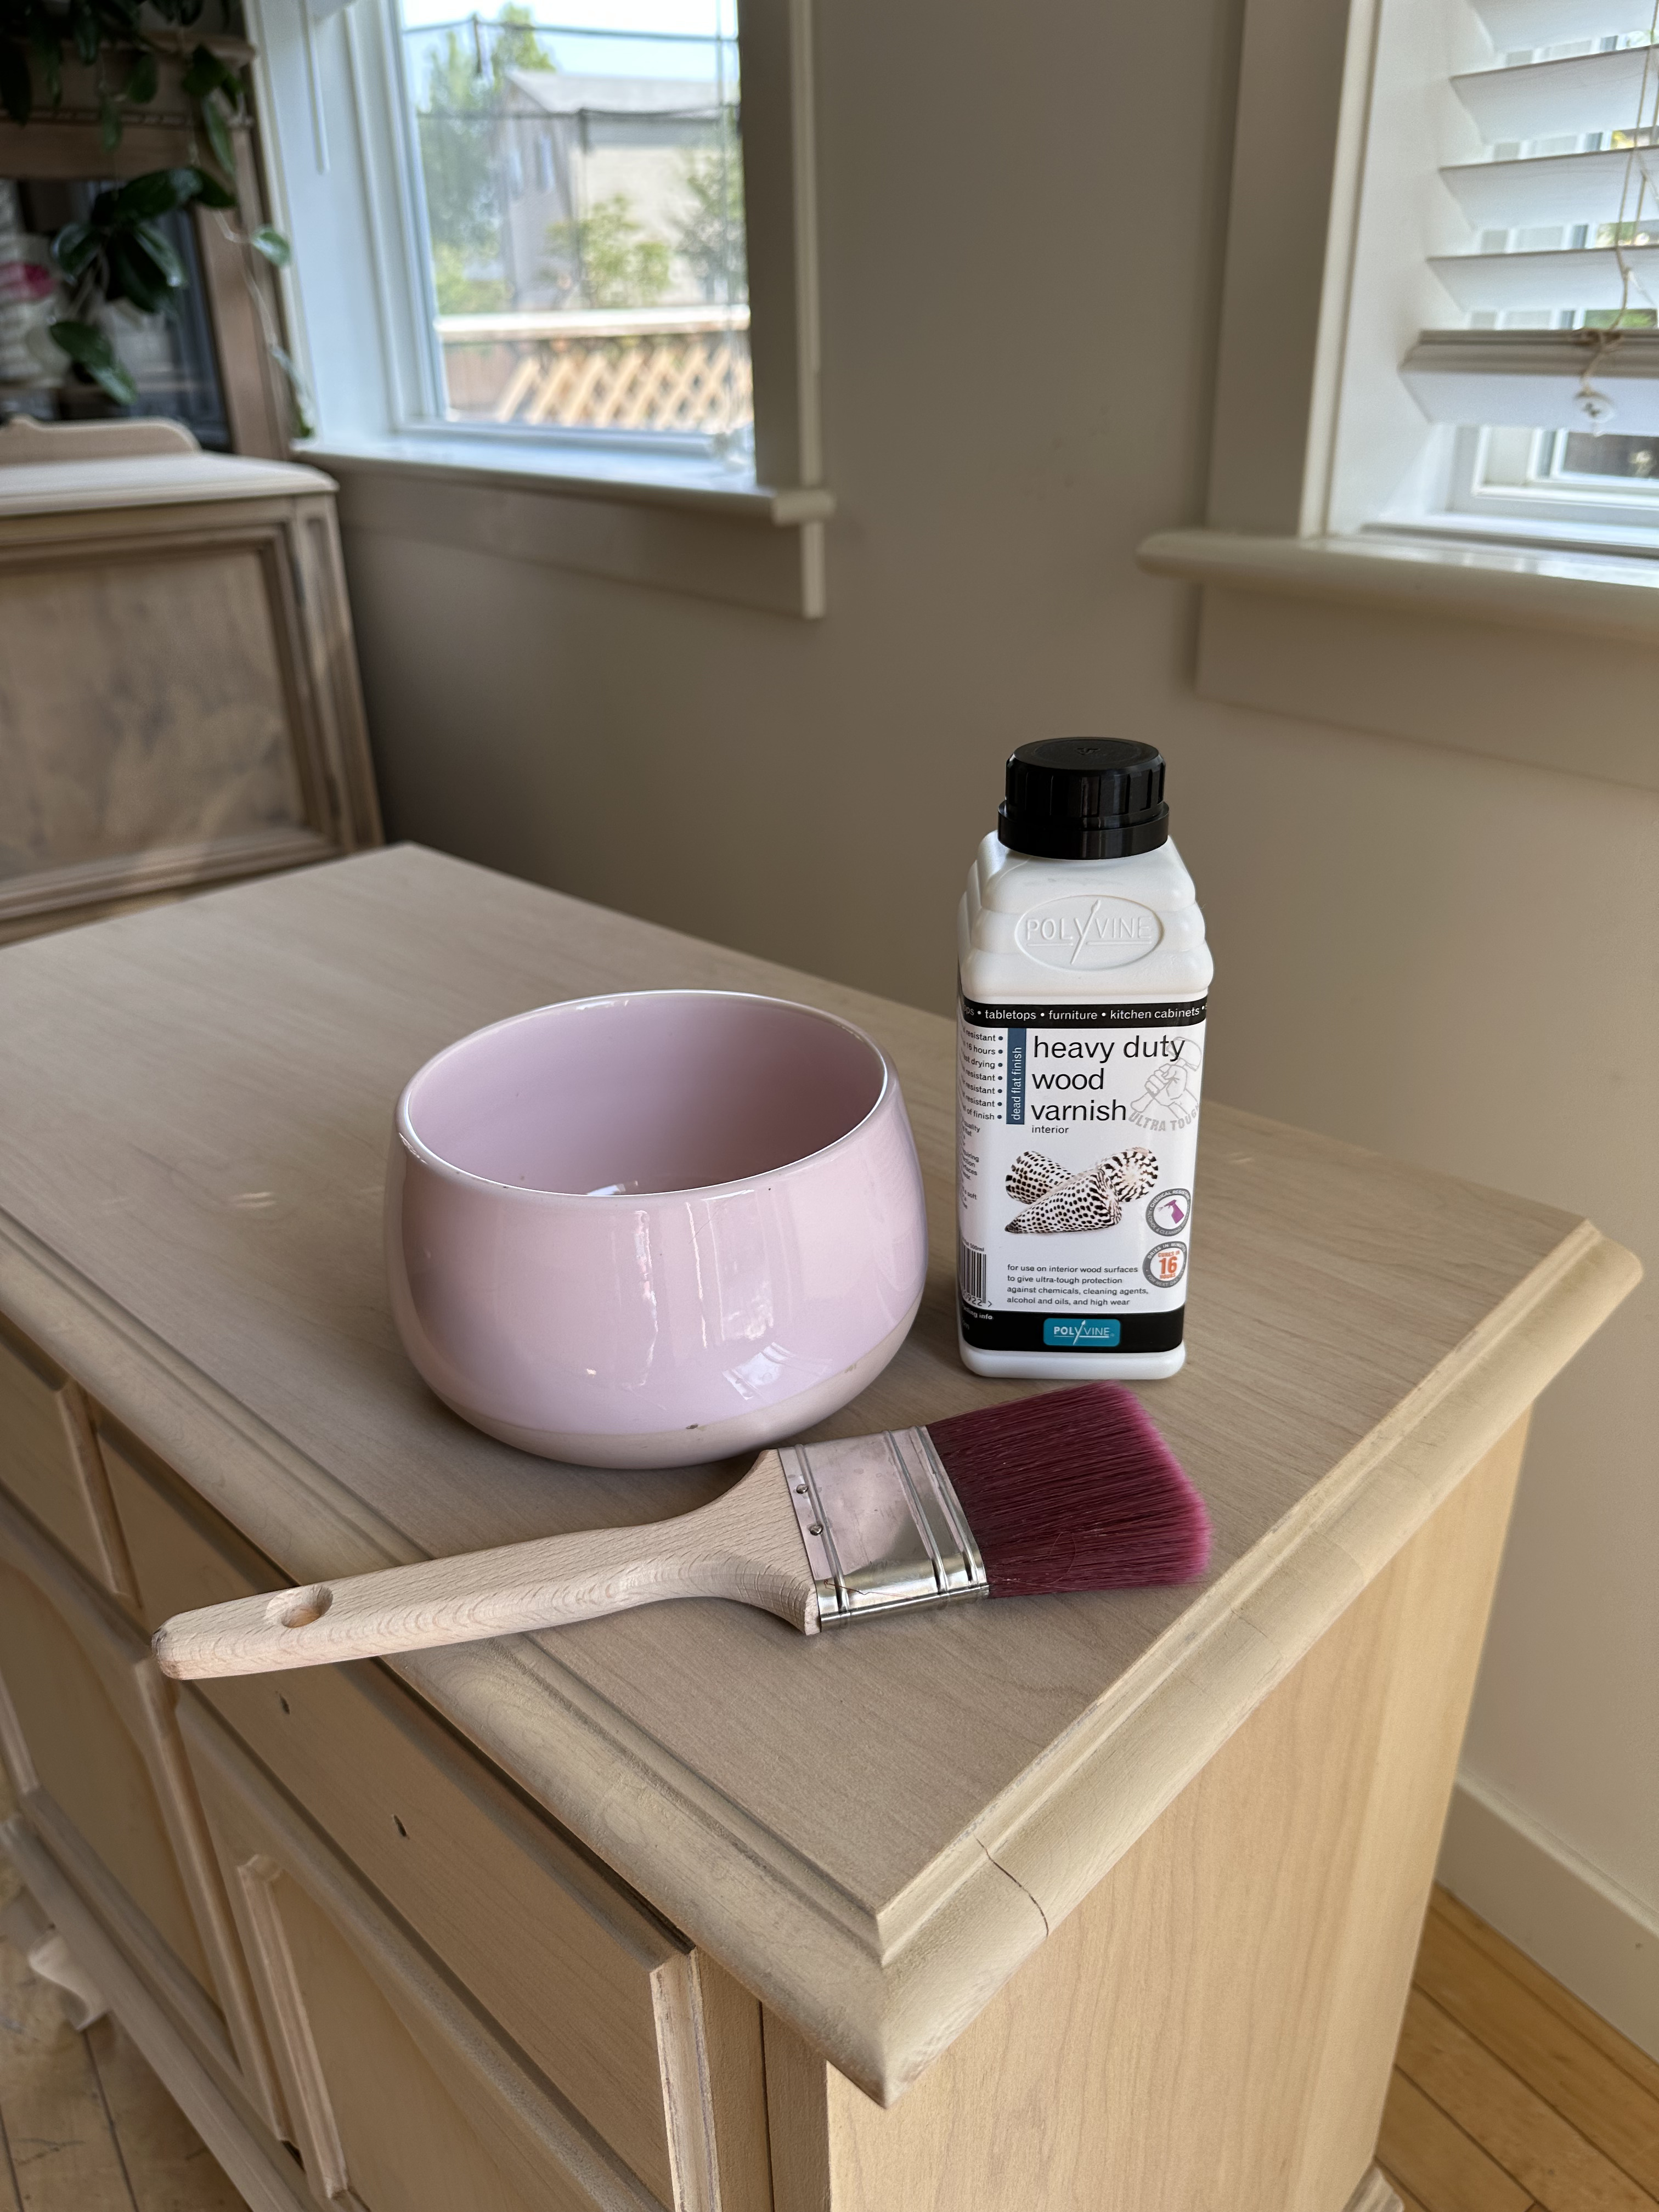
Step 3: Choosing Paint & Tools
Start with chalk paint- it’s forgiving, beginner-friendly, and doesn't require priming ( remember that each project is different, and you might have to use the primer). A good brush and some quality sandpaper go a long way.
Step 4: Painting & Finishing
Apply 2-3 thin coats. Let dry between coats. Seal with wax or water-based varnish, depending on the use ( I always use varnish or poly on high-traffic pieces).
Step 5: Pricing Your Piece
There are many factors you should consider when pricing your first projects. First, there is the demand in your area. Next time you spend on your piece, include the cost of all materials. Don't be afraid to price your project accordingly. There is no golden rule here. You can under- or overprice your first projects, and that's ok. You have to start somewhere and test your market and your patience simultaneously. To learn more about pricing, check out my FREE GUIDE or ask any questions in the comments.
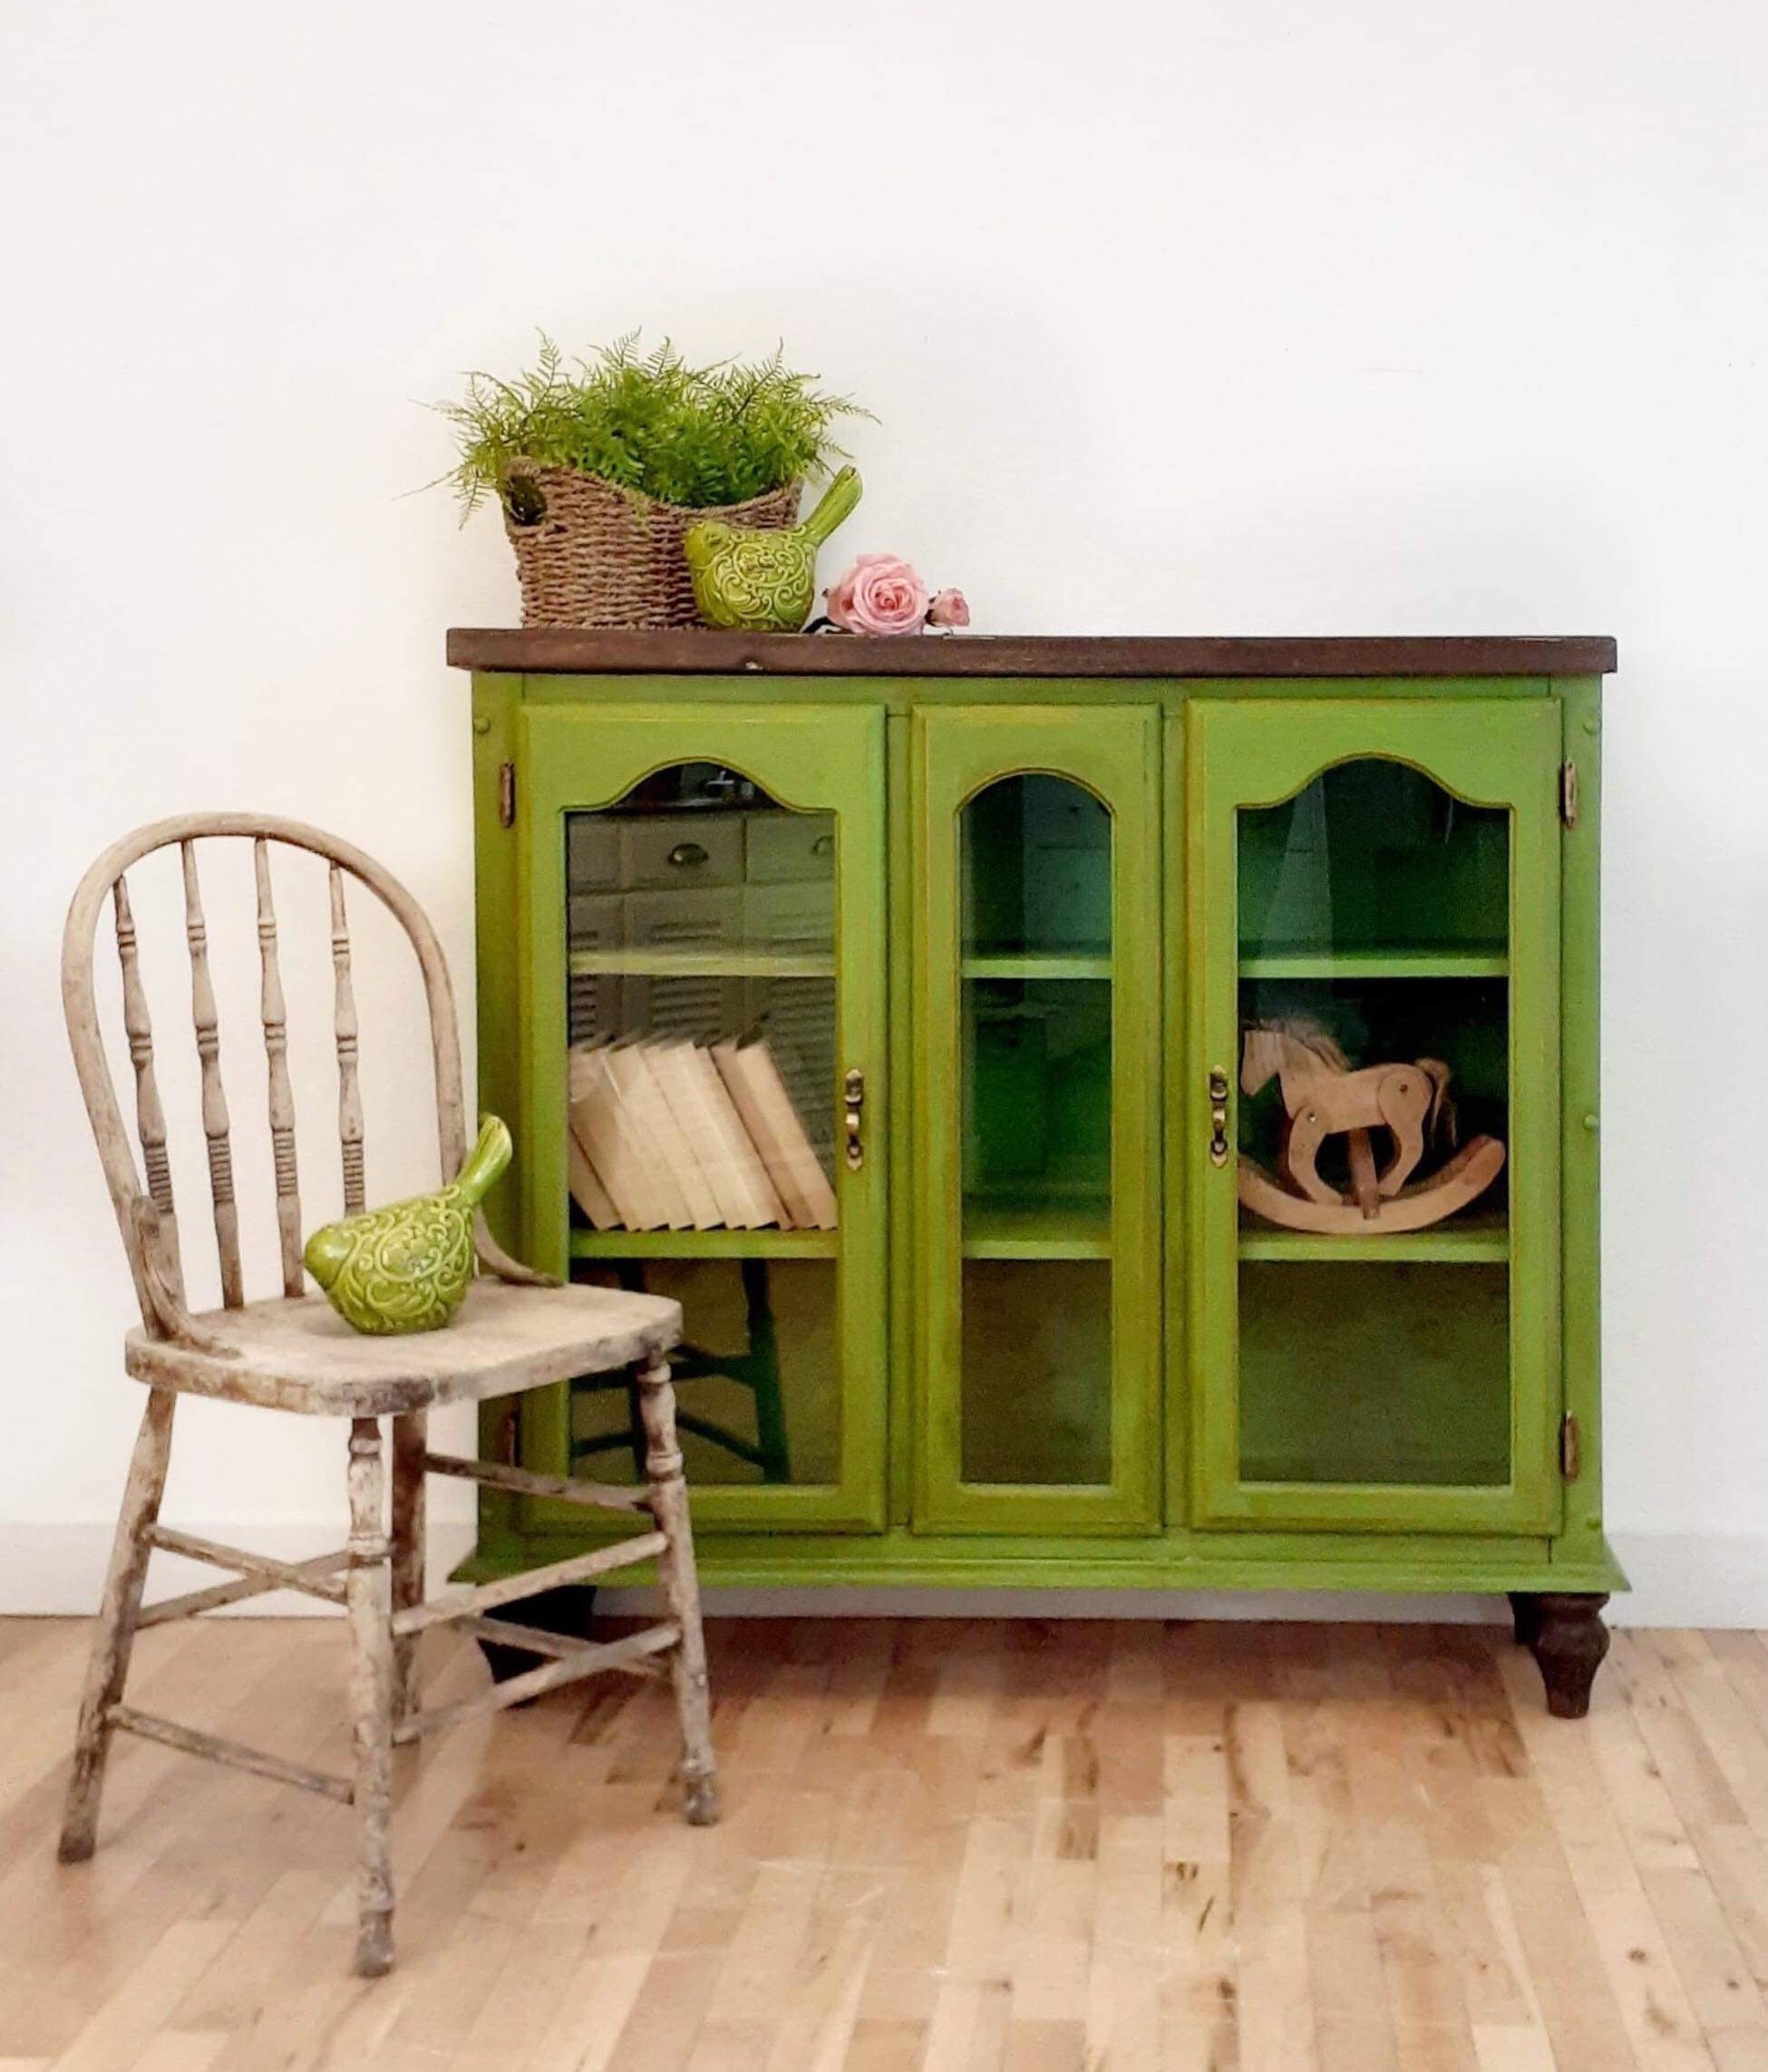
Step 6: Staging & Photographing
Your piece is all done, and now you should stage it- trust me, this is the dealbreaker in most cases when you want to sell your project for the best possible price.
Use natural light when taking pictures. Keep the background clean and styled. Stage your piece—show your potential buyer how the dresser or hutch you were working on can look in their home. Create a story that will make them feel emotions—excitement, pride, joy. Remember you are the creator here, and you are writing the new story of an old piece.
Step 7: Selling Your Piece
Post your staged pieces everywhere—on local marketplaces, Facebook groups, and Instagram. Tell your family and friends that you have something beautiful for sale. Create a description that highlights the piece's assets. Use tags and hashtags to get as much exposure as possible. Reply to all comments or requests.
Avoid These Beginner Mistakes:
- Skipping prep
- Using the wrong top coat/ sealer
- Pricing without local market research
Want more help flipping your first or next piece? Join my email list for updates, resources, and unique flipping challenges!


